Saturday, March 29, 2014

I wasn't going to do anything Easter related with the boys until after the 3 birthdays, (B&B April 6 and Clay April 9).  But with the rainy day, i needed something to break up the rowdy indoor play, if ya know what i mean.  We've never done these Ressurection Gardens before, and they really enjoyed it.  They were able to do it themselves- find the sticks and make the crosses, and plant the grass seed.  It's a wonderful visual to look at for the next few weeks.  It'll look so cool after the grass starts to grow.  I will resist the temptation to water their grass, that's their job!


It's pretty simple to make and we had all the items onhand which made it very nice.
Items needed:
pie plate
small clay pot
soil
small stones
bigger stone
sticks to make crosses
grass seed

The boys added strips of tissue for inside the tomb, i was proud of that.

Start by laying the clay pot down in the middle of the pie plate.

spread soil over the top, back, and sides of the clay pot.

place small stones in front of the tomb

gather sticks and hot glue them for the crosses

find a rock for the entrance of the tomb

plant and water grass

add your own touches!

Wednesday, March 19, 2014

Greenhouse in the making

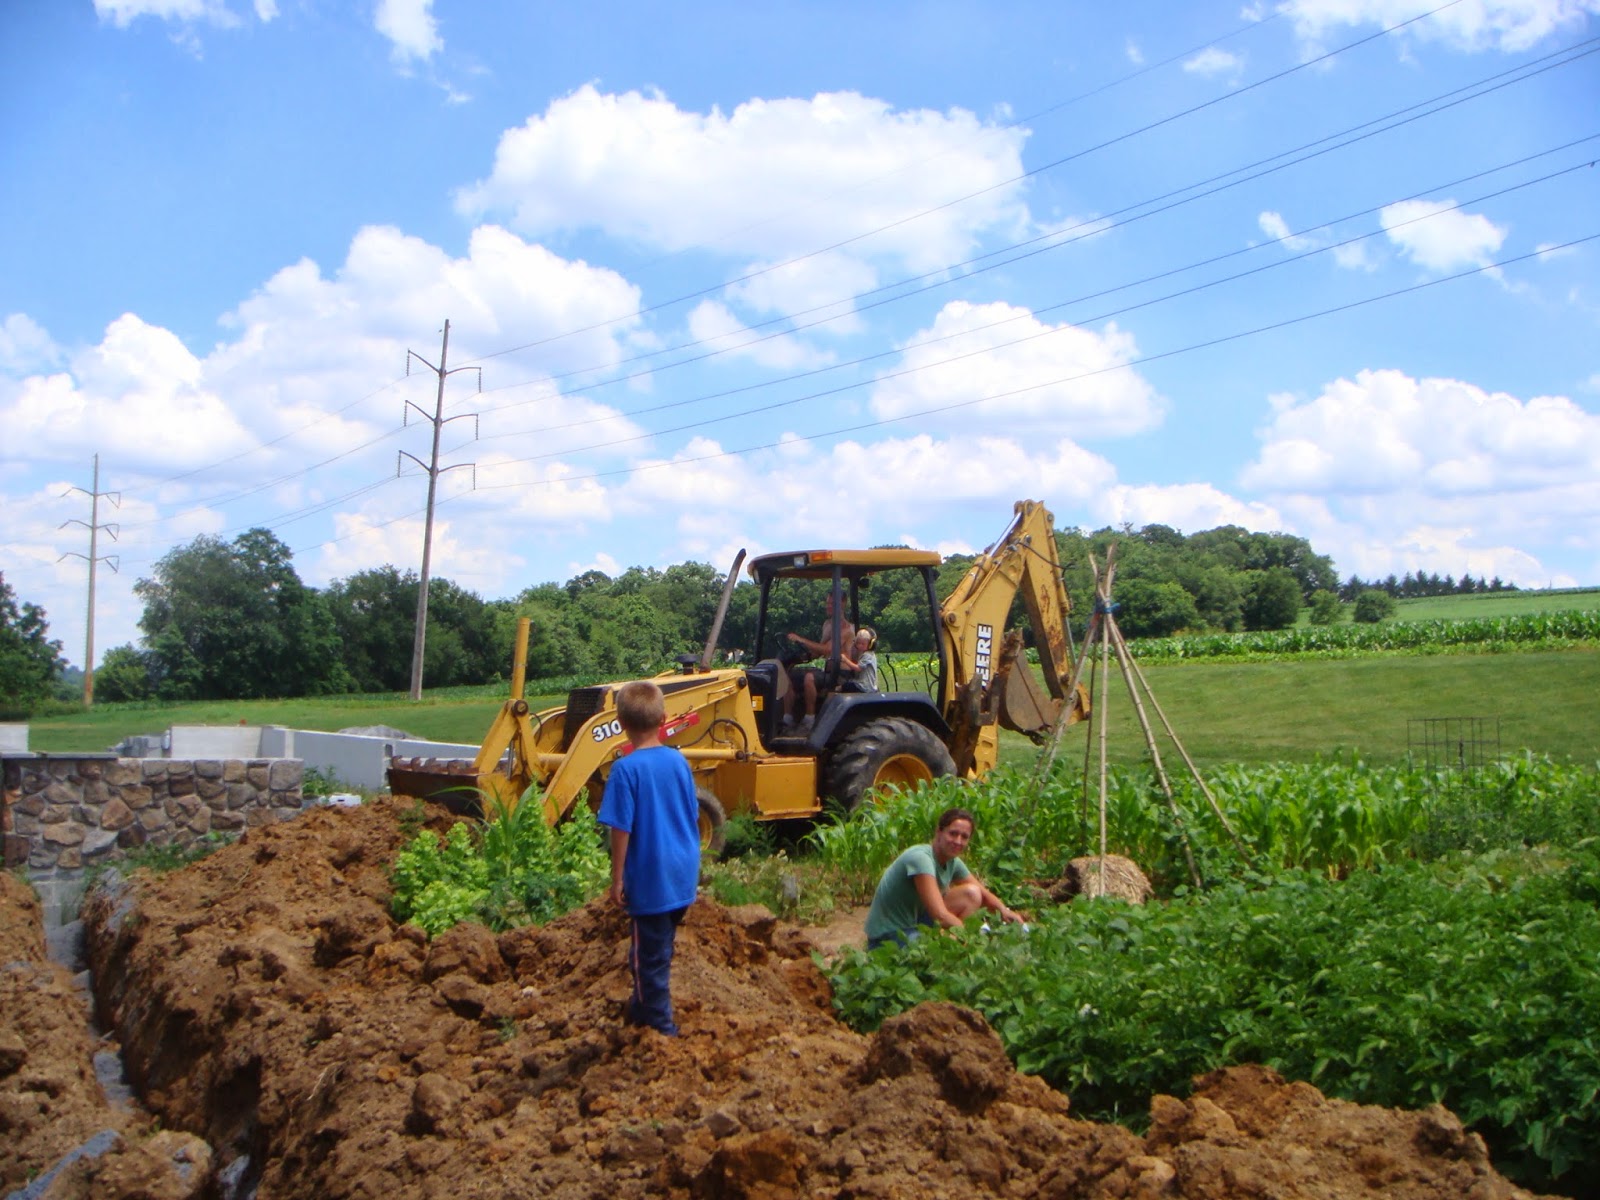
It all began nearly a year and a half ago.  Rod found this greenhouse listed on Craigslist:
Right at that time we were learning about the method of Hydroponics, and enjoying produce from Esbanshades Greenhouse, where they grow hydroponic veggies year round. (click for a quick description of hydroponics).  Rod looked into this listed greenhouse, did a little wheeling and dealing and before we knew it we were the owners of it.

I was not thrilled at first.  "I don't need one more thing to do around here" may or may not have been said.

But, as things slowly progressed, (and i mean slowly) the idea grew on me and i became excited.  I realized this is something we can do together and involve the boys in too.  We aren't totally sure where all this will take us.  But for now, we are doing our research, setting up our homemade systems and will hopefully will learn how to do this successfully through experience.  It has taken much longer then expected to get the greenhouse assembled, but we can see it was a blessing as we weren't ready a year ago.  We've had lots of time to watch youtube vidoes on others people's experiences!

Here's a look at the progression of the structure:

This drove me nuts all last summer!  
Ah that's better
Starting getting it assembled in December


Almost complete March 2014

Rod made our 2 main systems.  The "Bucket system" will hold our tomatoes, peppers, beans, peas, and cucumbers.  We will have string and clips hanging above these buckets, so each plant can grow up and stay up.  The resevoir tank is buried underneath the ground and will flush water through each bucket 3 times a day.  The blue buckets will be filled with Perlite and the plant will be transplanted in the Perlite.  That's it.
Our trough system will hold lettuces (kale, buttercrunch, swiss chard, spring mix), herbs, flowers, and sprouts.
The troughs will be level full of water and each plant will be placed in the black pot and will sit down in the water.  We have 9 of these tables, 12 plants per table.
I started these indoors, (this is kale) and soon it'll be ready to transfer to the above pot in the greenhouse.  it will stay in there until ready to harvest.  The seeds were started in something called rockwool (also called mineral wool), as you see here.  Other then for hydroponics, rock wool is used as a form of insulation in buildings.  The plants will stay in the rock wool even after harvest.  It holds it all together, and the roots grow in and around the rock wool.
Lettuce

Making stuff
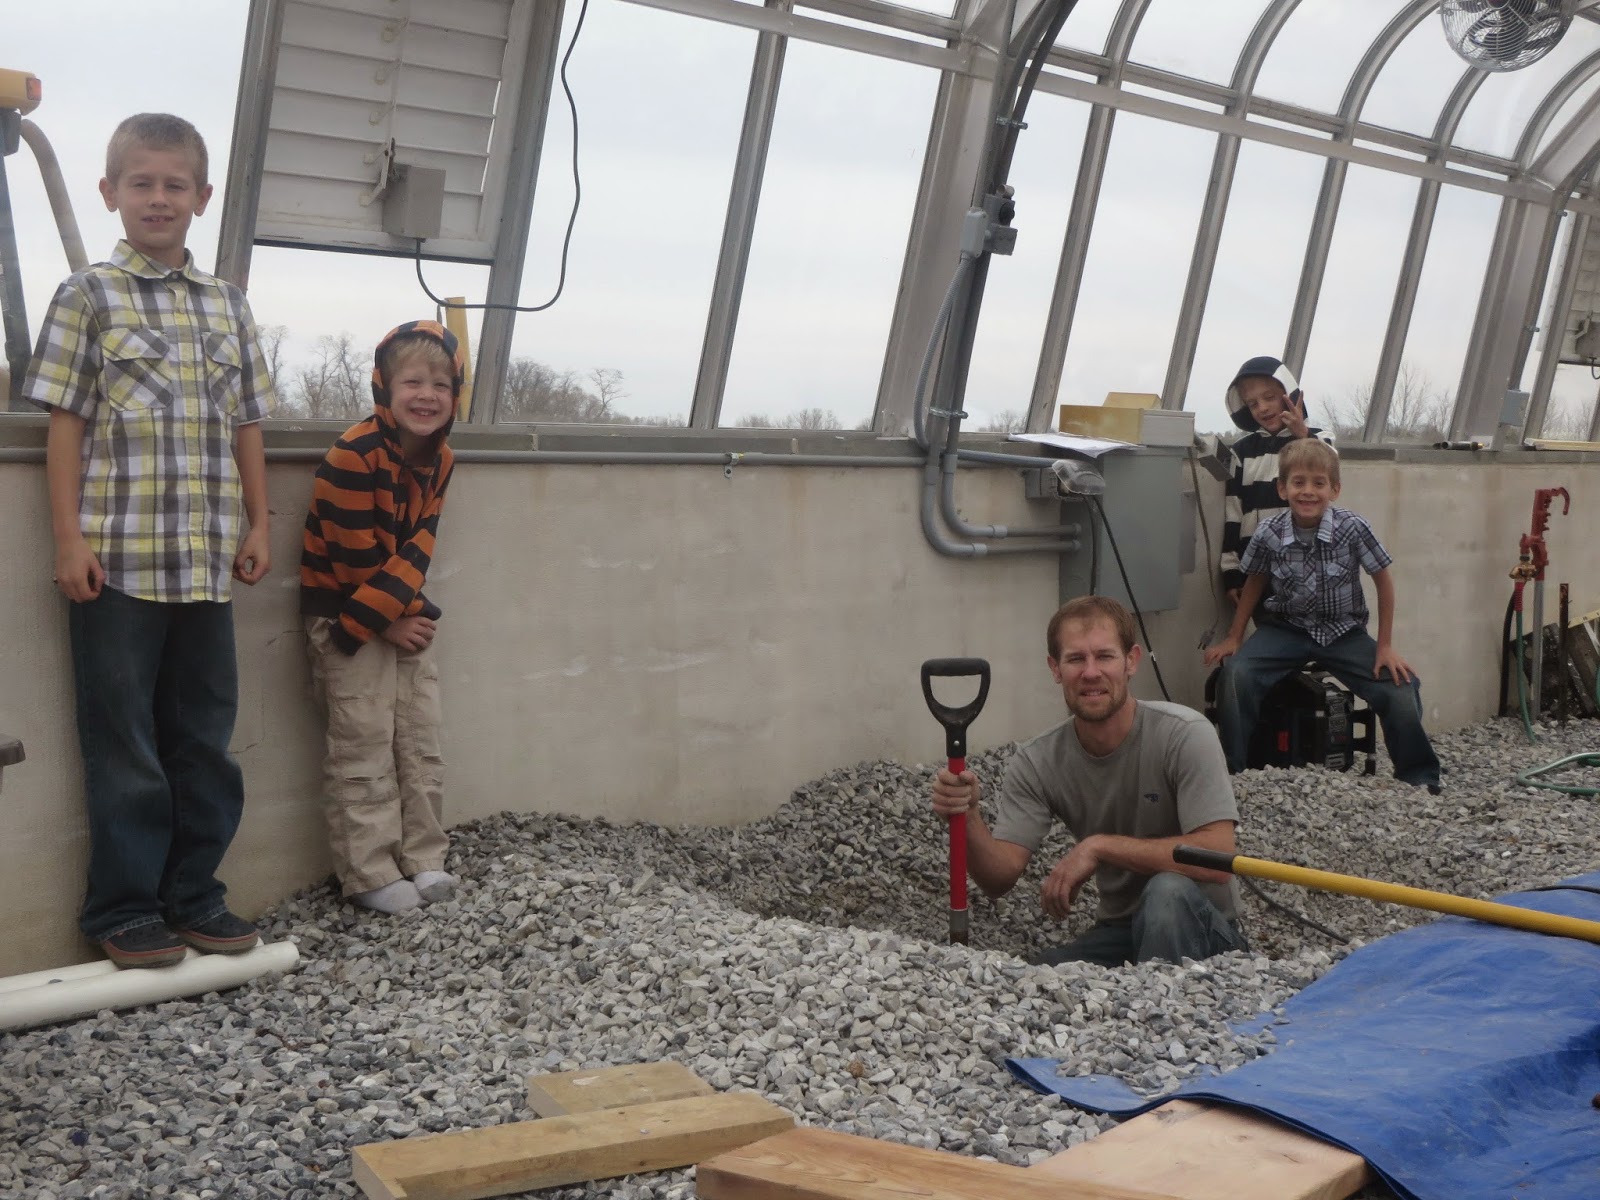
burying the resevoir tank (or giant rubbermaid container).

We have room to do 2 rows of the buckets, if we want to at some point. 
Yes he's letting me paint the tables orange :)  

this is my favorite part so far about having a greenhouse....it was 40 degrees and party cloudy outside, but inside......
It got up to 100 that day, and the fans kicked on..

It's tricky but not impossible to do root vegetables using the hydroponic method, ( root veggies meaning ones that grow underground), like radishes, onions, beets, carrots, potatoes.  So for now we aren't "going there".  I've requested a little square soil garden in the corner of the greenhouse, that i can try out my root vegetables inside during the off season.

We will have a 3rd system not pictured which will hold all-bearing strawberries.  It's all made of PVC pipe and will lay horizonal.  It'll have the 'flush' method like the bucket system.  There are many varieties of systems out there, with the same general concept.

We plan on messing up a lot in the beginning.  With it being soil-less, we'll need to add nutrients to the water, and each vegetable will need specific nutrients and quantities.

We hope to do this year round, with the exception of January and February where we will take off.  We don't want to use the heat more then we have to, so it makes sense to pause over those months.

Rod has been working hard!  But he doesn't consider it work, which is why we were out there most of the day Sunday setting up the systems :)  We're still waiting for 2 glass panes to be installed, after that we will put our plants in and get started.

Well there is my attempt at explaining to you something i'm still learning about, hopefully it made partial sense.  Will keep you posted with pictures once it's in full swing!   Also you'd be welcome to stop by and see for yourself!

Tuesday, March 11, 2014

MT visit

I noticed this week that it's harder for me to get up after we "spring forward" then it is the boys!  It will take me a few days to adjust, but I'm so glad that it's light out until 7:30 now.  That's wonderful!

Rod's sister and family are in here for a visit.  Since we're in school mode, we haven't had as many opportunities to see them but we did have a few fun get togethers.  Our local hair place now does nails so rina and I got a pedicure the one evening.  That was wonderful!  the chair has different massage settings and the foot soak was great. 

The day before the pedicure I stopped in the salon and Adam picked my nail color.  He liked this blue crackel!  Not my first choice, but decided to go with it for something different.  Rina got the pretty pink.

We have a few passes for the indoor pool at the rec, so we took caleb over Friday evening.  They swam for 2 hours, and then I used the whirlpool in the locker room.  heavenly! 

And we met baby A for the first time, what a sweetie. 


Friday, March 7, 2014

Butter Buttons

Here's a great little healthy snack for kids (and parents!)  Saw this on a blog I follow today and we quick made them up after school.  Just 3 ingredients!  And you likely have them on hand:  Butter, cinnamon, and honey/or maple syrup.  Love these....The kids and the snack!

Click here for the link to her blog.
Happy weekend!

Friday, February 28, 2014


This picture was selected for grand prize in Cherry Crest Farm 2013 photo contest!  i was so excited when i got the email.  The subject said "your photo was selected for grand prize" and of course i totally forgot i had entered a photo contest.  I didn't even crop it or try to make it look good.  Bless them for humoring me.

I've been taking the boys here once a year for the past 4 years, and we love it.  We prefer this place over amusement parks, which to me have a stressful atmosphere.  Cherry Crest is spacious, not loud or crowded, there's grass (i like grass), and lots of activities and games all farm/country themed.  It's just great for us.  I'm excited to have 4 free season passes for this year as our prize.  Maybe this year we'll actually do the corn maze, which is what they are known for.

Friday, February 21, 2014

bright spots

i always need to look for things in the winter to keep life exciting, since winter is so long and slow!  Last Friday i took the boys to Chocolate World.  Adam remembered being there before, the others didn't.  We took our neighbor girl with us, and since then she's come over twice.  That's been great, she plays with them and does things that Rod and i don't feel like doing, like freeze tag!  Since she's a teen now, she's busy and has not been over much at all.  We all missed her.

Clay and I started some seeds yesterday.  Just a few (hundred).

A month or so ago, i bought some popcorn cobs at Roots.  The lady told me to put them in a paper bag and microwave them for about 1.5 minutes.  They popped nicely and some even stayed on the cob!  We never did this before, it was so fun.  Guess what i'll be planting in the garden this year?!


On Monday, the boys didn't have school (shocking).  They were pretending to be WWF guys most of the day, at one point i said- take it outside!  so they did.....for a bit.

This is the neatest tunnel Rod came up with.  All 6 of us fit in here.  he made a fort out of our sliding board and pallets, BEFORE it snowed.  He then dumped snow on top of it, while plowing.  So we just had to dig a hole to get to it!  They can even stand in it. 

Well we are having a warm up this weekend, i really need to get back to running!  The hot pink sneakers have been taking a break.


Wednesday, February 19, 2014

Crystal Garden


It's been years since i've done a crystal garden w/ the boys.  Since they've been home so much this winter, i thought i really need to do it again this year.  With just a few household items you can form your own pretty crystals.
Here are the directions:

Place 2+ layers, slightly piled, of clean, wet coal in a glass dish.
Generously sprinkle wet coal with salt, (approx 2T)
Dot with food coloring (blue/green or blue/red work nicely).
Pour 2 T liquid blueing into pan at one side, NOT on coal.
Mix 2T ammonia with 2T water and add to pan, as you did the blueing, NOT on the salted coal.

Watch colored crystals form in the next 1-3 days.
*charcoal doesn't give as dramatic results.

It'll look like this initially:


You can experiment with colors, i used red and blue.  The following is the easiest explanation i found for how this works:

The garden is formed by the salt after the water and ammonia evaporate away.  The ammonia helps to speed the evaporation of the liquid from the mixture.  The laundry bluing helps to form crystal blooms instead of crystal chunks or plates.  The bluing solution is actually a colloidal suspension; it has very small particle that will not dissolve, but are held up and separated by the liquid.  As the water evaporates away, the salt forms crystals using the colloidal particles as a seed, or nucleus, for growth.  The liquid mixture and the salt are pulled away from the bottom of the container up to the tops of the porous material by capillary action, much the same way water spreads through a sponge.  This allows you to add more mixture to the bottom and have your garden bloom and grow forever.  You could experiment by leaving out the ammonia or bluing, or changing the ratios in the recipe.

After less then 48 hours: